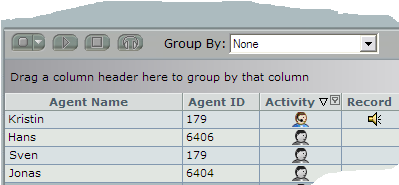
In NICE Engage®, the Monitor tab you change the sorting order, ascending or descending, in a column by clicking on the triangle by the text in the column header.

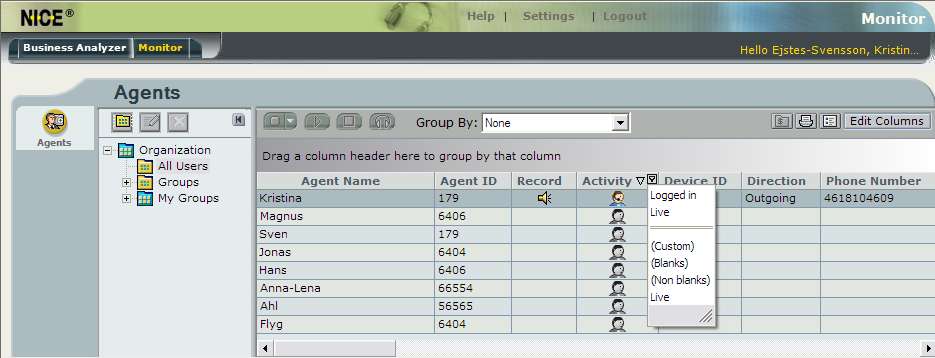
If you hold your mouse pointer to the right of the column header, you see a filter funnel. Clicking on it opens a menu, where you can select which rows to see.
You can choose whether you just want to display the rows with a value in the selected column (Non blanks), only show those without value in the selected column (Blanks), or have a specific value. On the screen-shot example below the filter menu for Activity shows the alternative values Live (call in progress) and Logged in (logged in without a call in progress).
If you want a specific column to be visible at another position, you can easily move the column by
If you want to group a specific category in the table, i.e. have the list sorted by the values that the category contains, you can do this in various ways:
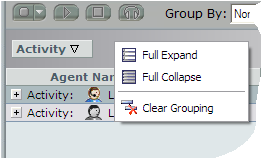
If you sort by the Activity example header, it will look as in the screenshots below. The first list is expanded and second is compressed.
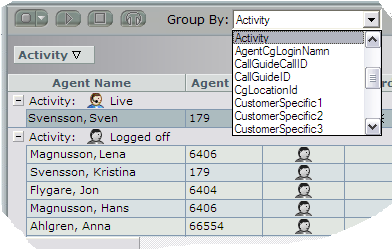
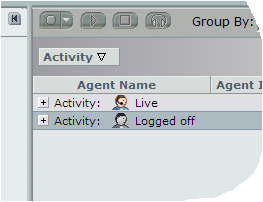
If the list is compressed, it will be expanded again when you click on the plus sign seen to the left. To compress the list again, you click on the minus sign having replaced the plus sign.
When you want to see the table ungrouped again, you proceed in one of the following ways:
Select Clear Grouping (or Ungroup) in the context menu.
